How to Charge a Car Battery Without Calling for Help
Right, let's get one thing straight. To bring a car battery back from the dead, you'll need a proper battery charger. It's a doddle, really: you hook the red (positive) clamp to the positive terminal , connect the black (negative) clamp to a solid metal earth point on the car's frame, then plug the charger in and set it to the right mode. This is by far the safest way to revive a flat battery without frying your car's delicate electronics and landing yourself with a bill that'll make your eyes water.
Your Guide to Resurrecting a Dead Car Battery
It’s a feeling every British driver knows intimately. The key turns, and instead of a satisfying roar, you get… sod all. A depressing click from under the bonnet on a damp, grey morning. A dead battery feels like a proper disaster, but it doesn't have to wreck your day or your wallet.
Before you dial the AA in a blind panic, let’s talk about sorting this yourself. We’re going to ditch the myths you heard down the pub from your mate Dave and give you the real-world, no-nonsense guide. We’ll cover the essential kit, the safety steps people still foolishly skip, and the best techniques for getting your motor running again.
Think of this as your pre-breakdown pep talk. We'll show you how to turn a motoring meltdown into a minor blip, whether that’s with a quick jump-start or a more patient charge that's actually better for your battery's long-term health. You've got this. Probably.
The Basic Charging Process
Before we get our hands dirty, let's have a look at the basic flow. Getting the order right is absolutely crucial, and it all starts with safety. Always.
This sequence gives you a bird's-eye view of the whole operation: gear up for safety, connect the leads correctly, and then fire up the engine. Simple.

The main takeaway? It's a logical, step-by-step job. Cutting corners, especially on the safety checks, is a one-way ticket to sparks, damage, or worse. Don't be a numpty.
Your Battery Charging Toolkit at a Glance
Don't get caught out without the right kit. Here’s a quick summary of the essential gear you’ll need for different battery-related emergencies.
| Scenario | Essential Gear | Nice-to-Have Extras |
|---|---|---|
| Flat Battery at Home | Smart Battery Charger (CTEK, NOCO, etc.) | Battery Terminal Cleaner, Multimeter |
| Jump-Starting | High-Quality Jump Leads, Donor Vehicle | Portable Jump Starter Pack |
| General Maintenance | Trickle Charger/Battery Maintainer | Distilled Water (for wet cells), Hydrometer |
| Safety First | Safety Goggles, Insulated Gloves | Fire Extinguisher (Class B/C), First Aid Kit |
Having even the basic essentials on hand means you're prepared for the inevitable and can handle the situation with the cool confidence of a bomb disposal expert, rather than the flapping panic of a pigeon in a bakery.
Why Did My Battery Die Anyway?
Understanding the root cause is half the battle. Batteries rarely just give up the ghost without a reason. It's usually one of these classic culprits:
- Simple Oversight: Leaving the interior light on, or forgetting the headlights. It happens to the best of us, and it’s a surefire way to drain the battery overnight. You berk.
- Too Many Short Trips: Constantly nipping to the local shops and back is a killer. The alternator never gets enough time to fully top up the battery, leading to a slow death by a thousand cuts. This is a massive issue in the UK, where the average car journey is less than 10 miles .
- Old Age: Batteries don't last forever. A standard lead-acid battery typically has a lifespan of about three to five years. If yours is getting on a bit, it was living on borrowed time.
A battery that keeps dying, even after you’ve fully charged it, is screaming for help. It’s not just tired; it’s on its last legs. Replace it before it leaves you properly stranded in the middle of nowhere on a wet Tuesday in November.
The Classic Jump-Start Method Explained Properly
The humble jump-start. It’s a rite of passage for every driver, but it’s shockingly easy to get spectacularly wrong. Forget everything you think you know from that one time your mate Dave tried to ‘help’ with a bit of old speaker wire. Let’s walk through the proper, spark-free way to do it.
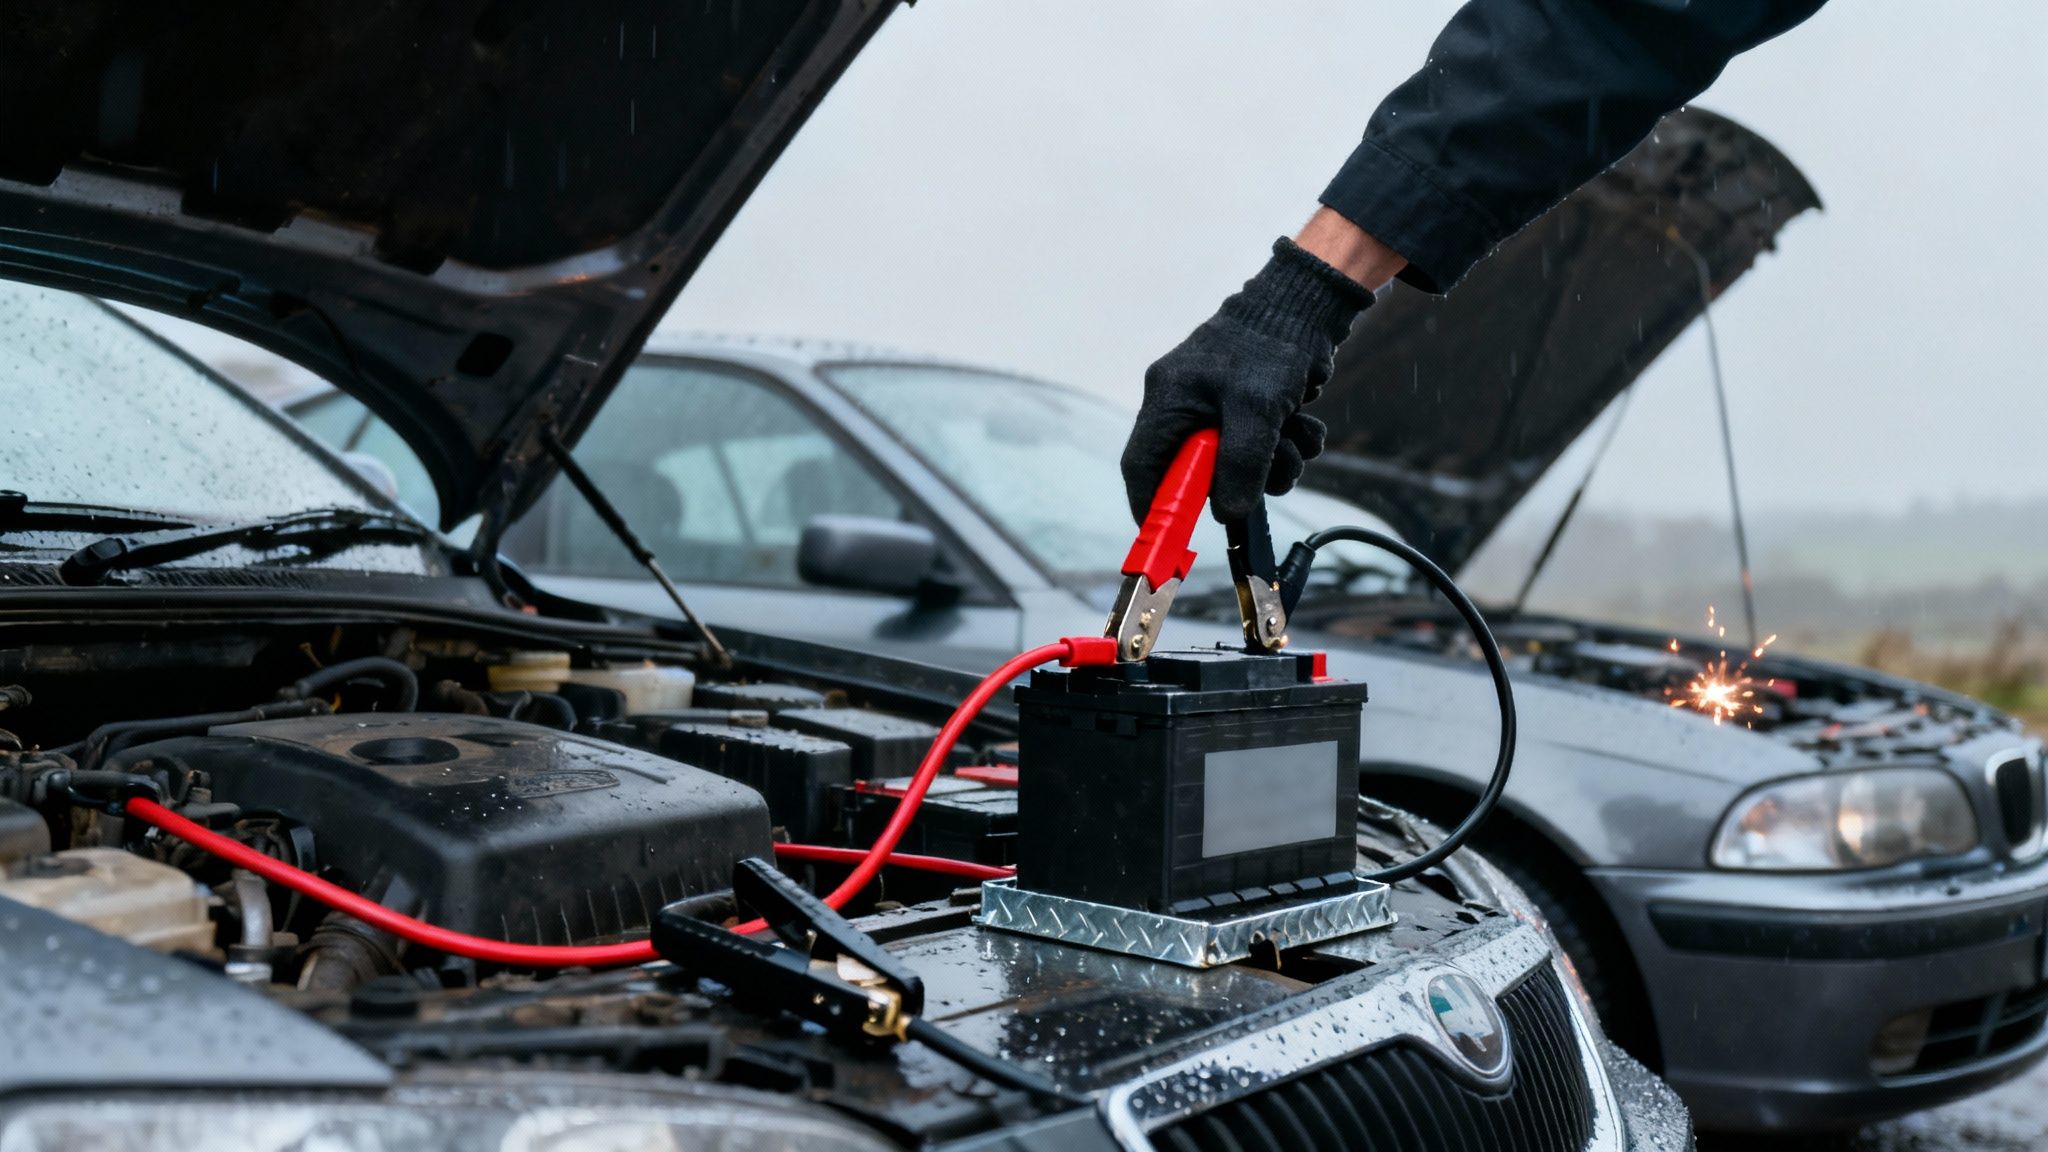
The secret isn't just knowing what to connect, but the precise order in which you do it. Getting the sequence wrong is how you end up with a melted bit of plastic, a fried Engine Control Unit (ECU), or at the very least, a face full of sparks. Nobody wants to be explaining that repair bill.
Of course, if you'd rather avoid the faff of finding a friendly donor car altogether, you could just keep a modern lifesaver in your boot. For the full lowdown, check out our ultimate UK guide to portable car chargers.
The Spark-Free Connection Sequence
Picture the scene: it’s a frosty Tuesday morning, your Ford Fiesta is as dead as a dodo, and you’ve managed to flag down a neighbour. Park the donor car close enough for the leads to reach without stretching, but never let the vehicles touch . This is non-negotiable.
Now, with both engines completely off, follow this sequence to the letter. It’s designed specifically to minimise the risk of a spark igniting any hydrogen gas, which a flat battery can vent.
- Red to Dead: First, clamp one end of the red (positive) jump lead onto the positive (+) terminal of the flat battery in your car.
- Red to Good: Next, take the other end of that same red lead and attach it to the positive (+) terminal of the healthy donor battery.
- Black to Good: Now for the other cable. Attach one end of the black (negative) jump lead to the negative (-) terminal of the healthy donor battery.
- Black to Earth: This is the crucial bit everyone messes up. Attach the final black clamp to a solid, unpainted metal point on the engine block or chassis of the dead car. Make sure it's well away from the battery and fuel lines. A chunky engine mounting bolt is usually a good bet. This creates a safe earth connection.
We’ve all been there, whispering to ourselves: “Red to red… black to the other one… wait, which black? Oh, bugger.” That final connection to a metal earth point—not the dead battery’s negative terminal—is the most frequently forgotten step and the most critical one for your safety.
Firing It Up and Getting Disconnected
Once everything is securely connected, you can start the engine of the donor car. Let it run for a few minutes; this gives the flat battery a little pre-charge. Now, head over to your car and try to start it. If it fires up, you’re in business!
Don't just switch everything off and rip the leads off yet. To disconnect safely, you simply reverse the connection order. Be careful not to let the metal clamps touch each other or any other metal parts of either car.
- First, remove the black lead from the earthed metal point on your car.
- Then, remove the black lead from the donor car’s negative terminal .
- After that, remove the red lead from the donor car’s positive terminal .
- Finally, remove the red lead from your car’s positive terminal .
Now, keep your car running for at least 20-30 minutes . The best way to do this is to actually go for a decent drive. This gives the alternator a proper chance to put some meaningful charge back into the battery.
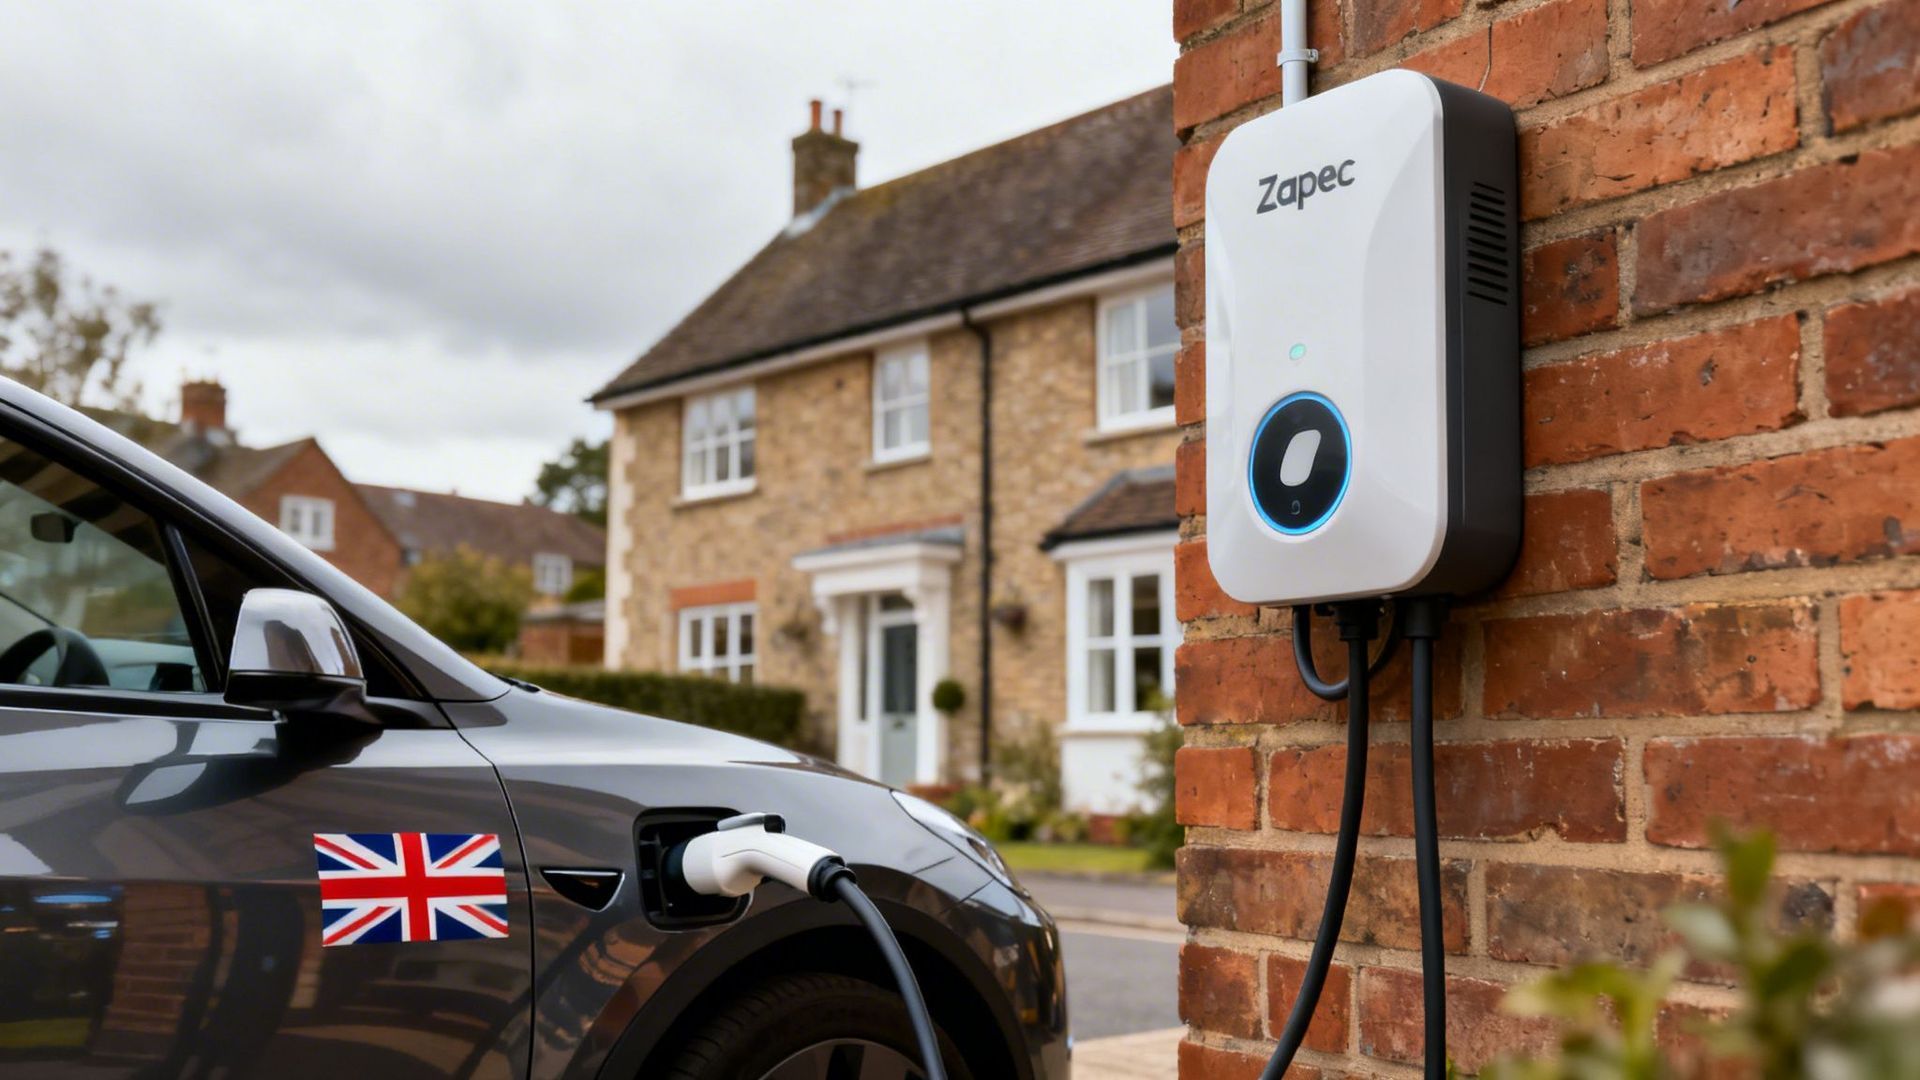
Using a Dedicated Battery Charger
A jump-start is the automotive equivalent of a defibrillator—it gets the heart pumping again, but it does absolutely nothing to fix the underlying problem. For a proper, lasting solution, you need a dedicated battery charger. This is especially true if your car sits idle for weeks at a time or only ever does short, battery-sapping runs to the shops.
Think of it as a proper health spa for your tired battery.

This isn’t the time to dig out that rusty, humming metal box from your grandad’s shed. Modern cars are sensitive creatures, particularly those with sophisticated stop-start systems using Absorbent Glass Mat (AGM) or Enhanced Flooded Batteries (EFB) . Hooking them up to an ancient, unregulated charger is like giving your prize-winning rose bush a good dousing with weed killer. A catastrophically bad idea.
Choosing Your Weapon: Smart vs Trickle Chargers
Today's market is full of 'smart' or 'intelligent' chargers, and for good reason. These gadgets are far more than just power supplies; they actively analyse, condition, and safely charge your battery through a multi-stage process.
- Smart Chargers: These are the dog's bollocks. They constantly monitor the battery's voltage and health, tweaking the current to prevent the terminal sin of overcharging. Most have specific modes for different battery types (like AGM) and some even have a 'reconditioning' feature to breathe a bit of life back into a tired old cell.
- Trickle Chargers: This is a more basic option. A trickle charger delivers a slow, constant, low-amperage current. While they’re okay for maintaining a charge, a cheap one won't shut itself off, which means you risk boiling your battery dry if you forget about it.
- Float Chargers (Maintainers): Think of these as a smarter type of trickle charger designed for long-term hibernation. They bring the battery to a full charge and then switch to a 'float' mode, only giving it a tiny top-up when the voltage naturally drops. Perfect for that classic car tucked away for the winter.
The bottom line is this: buying a modern smart charger is the single best investment you can make for your battery's health. It pays for itself by preventing premature battery death and saving you from the misery of being stranded on a cold, wet Tuesday.
The Safe Connection and Charging Ritual
Connecting a charger is a lot like jump-starting, just without the drama of a second vehicle. The same safety-first principles apply: wear your gloves and goggles, and make sure you're in a well-ventilated space. Batteries can release explosive hydrogen gas during charging, so no sparks, please.
With the charger unplugged from the mains, follow this simple sequence:
- Attach the red (positive) clamp from the charger to the positive (+) terminal on your battery.
- Connect the black (negative) clamp to a solid, unpainted metal point on the car's chassis or engine block. This is your 'earth' point.
- Now, plug the charger into the wall socket and switch it on.
- Select the correct charging mode on your device (e.g., 'Car', 'AGM', or 'Recondition').
Once that’s done, just leave it to do its thing. The cryptic blinking lights will eventually turn solid green, or a digital display will give you the good news. A slow, controlled charge is infinitely better for the battery's health.
Traditional lead-acid car batteries, which are still incredibly common here in the UK, absolutely thrive on this gentle approach. Their internal chemistry needs a careful balance to avoid damage, and a slow charge at around 13.8 to 14.4 volts is the perfect recipe for a long life. You can dig deeper into the science behind these workhorses and get to grips with more battery basics.
Depending on how flat the battery was and your charger's power, the whole process could take anywhere from four to 24 hours. Patience is your best friend here.
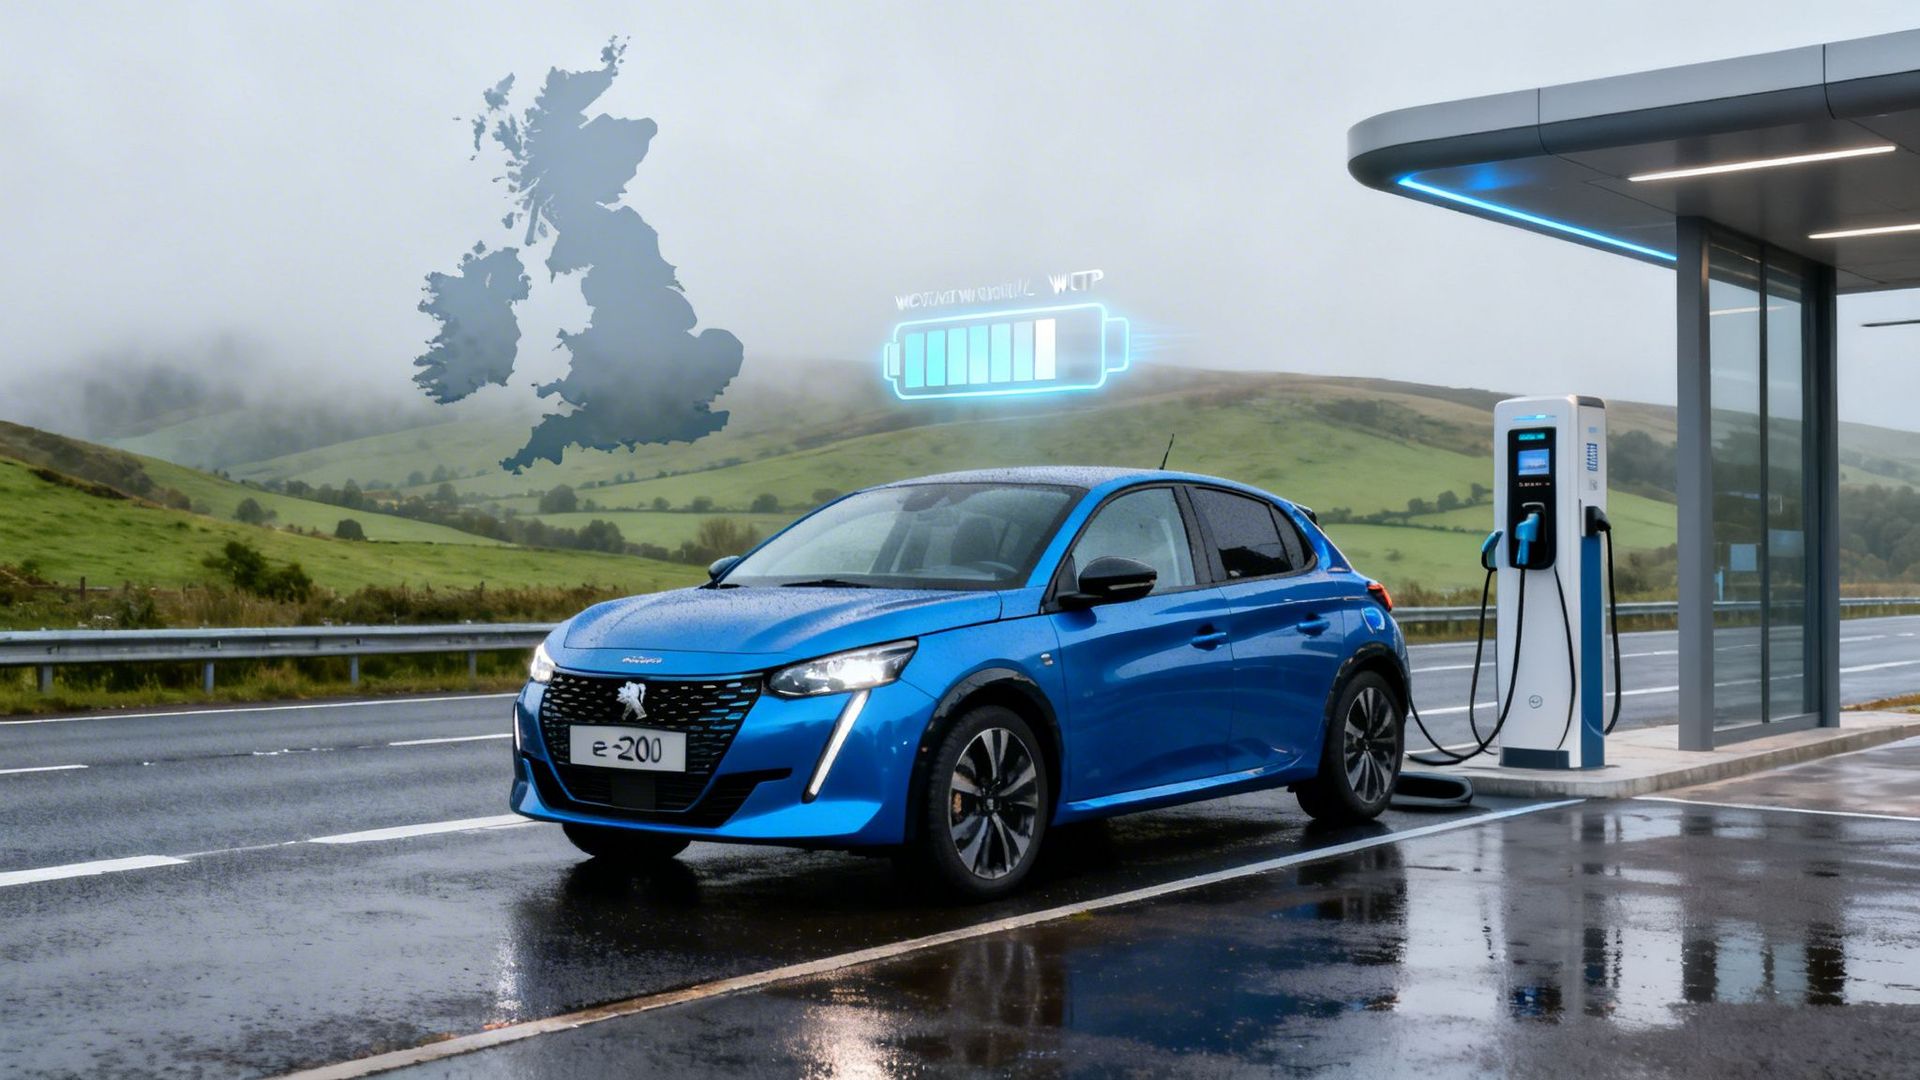
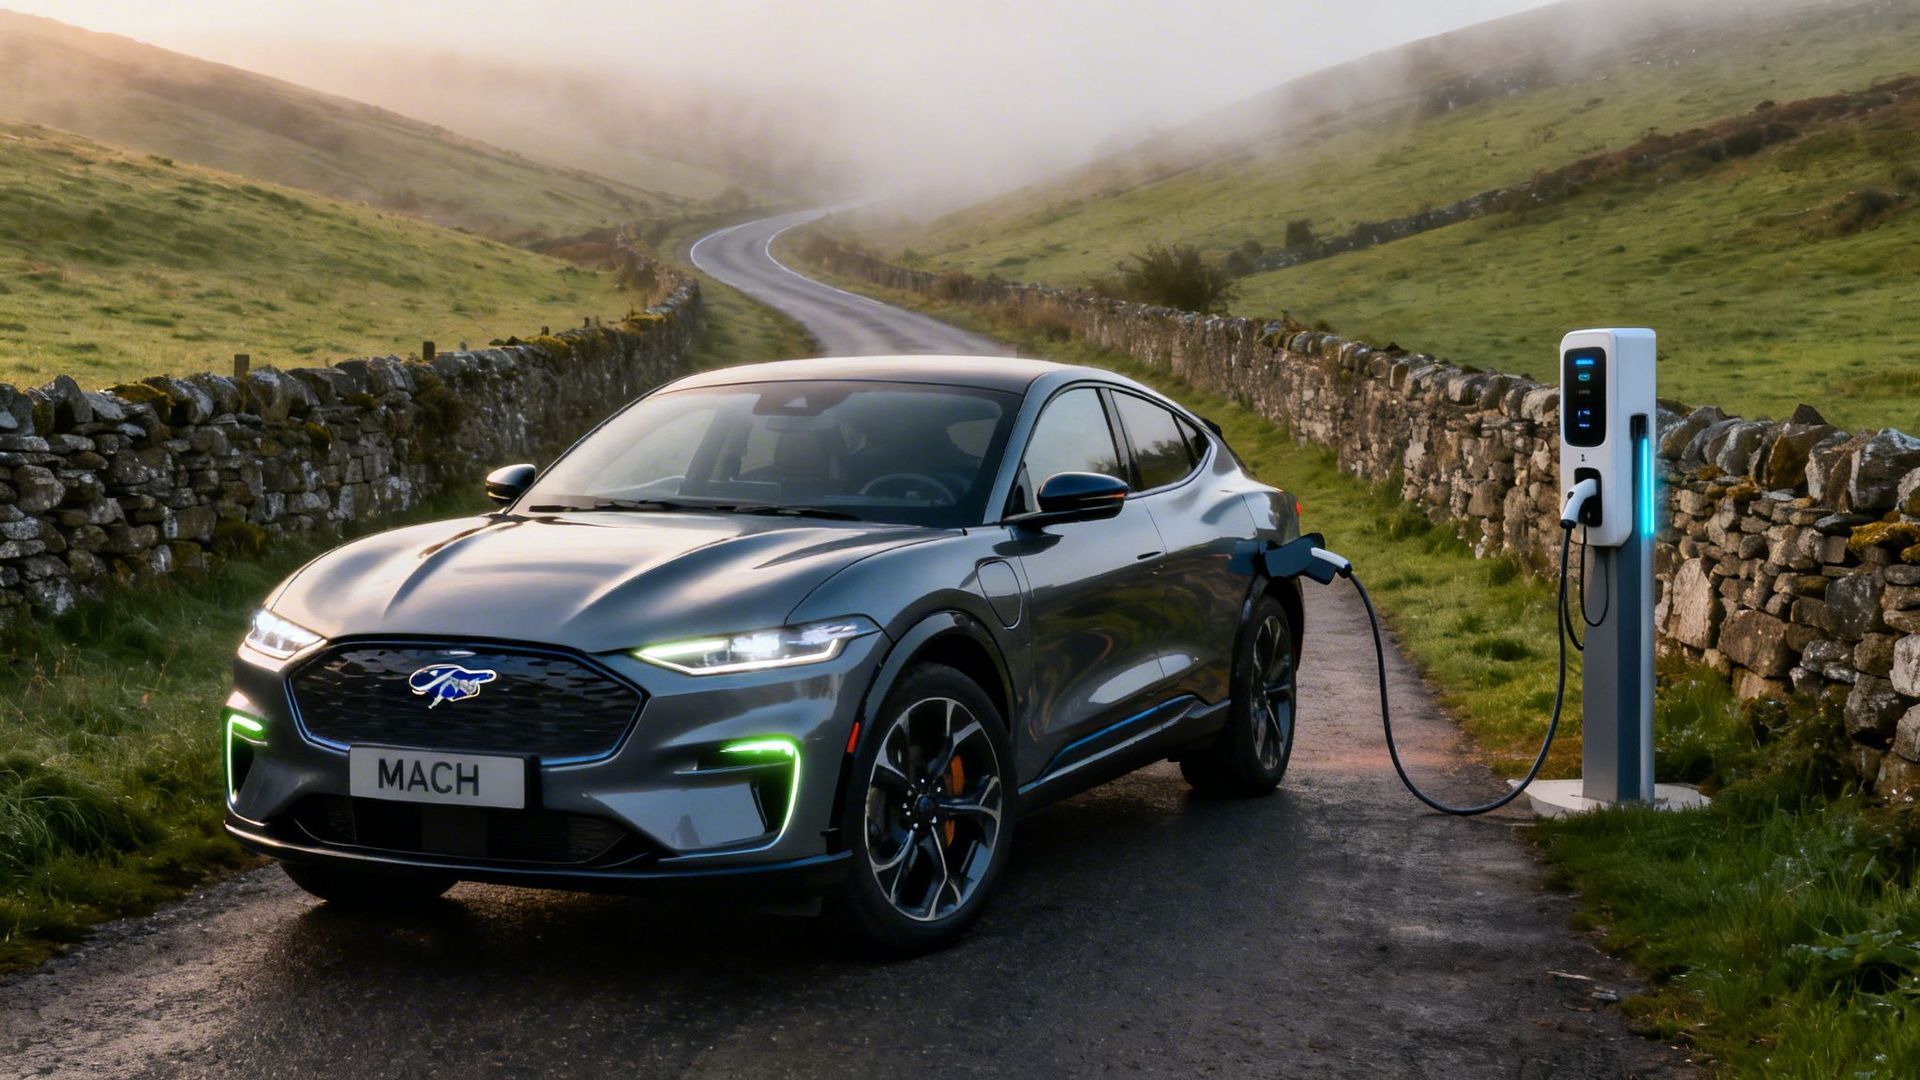
Charging an Electric Car's 12V Battery
Right, let’s clear something up before you try to jump-start a Tesla with a rusty old Vauxhall Corsa. The 12V battery we’ve been talking about is a completely different beast from the colossal traction battery that actually moves an electric vehicle (EV).
Think of this section as a crucial public service announcement.
Even the most futuristic, all-singing, all-dancing EVs have a humble little 12V battery tucked away somewhere. It's the unsung hero powering the door locks, the massive infotainment screen, and all the onboard computers that need to boot up before the main battery can even think about getting involved. If that 12V battery dies, your EV is just a very expensive and aerodynamic paperweight.
Why Your Jump Leads Are Useless Here
Here’s the bit you absolutely must get right: you cannot charge the main EV traction battery with a standard car charger or jump leads . Seriously. Trying to do so is a shortcut to a very expensive, very embarrassing, and potentially very fiery mistake.
The main traction battery is a high-voltage system, running at hundreds of volts—not the piddling 12 volts of a normal car. It's a precision piece of engineering designed to be charged in a highly controlled way with very specific equipment.
- The 12V Battery in an EV: This little guy is usually kept topped up automatically by the main traction battery using a DC-to-DC converter. But, if the EV sits unused for ages, this battery can go flat, stopping the car from "waking up." You can often jump-start or charge this specific 12V battery using the methods we've already covered, but always, always check your owner's manual first. Some models have very specific procedures.
- The Main Traction Battery: This is the big one. The powerhouse that makes the car go. It can only be charged using a dedicated EV charger, whether that’s a wall box at home or a unit at a public charging station.
Do not, under any circumstances, try to connect jump leads to the main traction battery terminals. You’ll be introducing 12 volts to a system expecting 400 or even 800 volts. It will not end well for you, the car, or your bank account.
A Quick Word on Actually Charging an EV
Charging the main battery means plugging into the grid. In the UK, this relies on a rapidly growing network of public and private charging points. As of mid-2025, the UK has around 80,998 public charging devices, which is a whopping 30% increase over the previous year.
For long trips, the 16,259 rapid or ultra-rapid chargers are your best friends. These can deliver 50kW or more, getting you back on the road in the time it takes to grab a coffee and a sandwich. You can read more about the rapid expansion of the UK's charging network if you're curious.
This infrastructure is a world away from a simple battery charger in your garage. From slow lamp-post chargers perfect for an overnight top-up to the super-fast units at motorway services, the process is entirely different. If you're thinking of making the switch, figuring out your home charging setup is the first, and most important, step.
To get started, check out our no-nonsense guide on finding the best home EV chargers UK drivers recommend.
Troubleshooting Common Charging Problems
Right, so you've done everything by the book. You’ve hooked up the charger, picked the right setting, and walked away feeling rather smug. But hours later, you come back to the same dead silence when you turn the key. The car is still as dead as a dodo. Before you decide to test the aerodynamic properties of your spanner, let's run through the usual suspects.
Often, the problem isn’t a mistake on your part. The battery itself is just the messenger, signalling a deeper issue. Simply pumping juice into it won't fix a dodgy connection or a component that’s quietly working against you. This is your go-to guide for when the charge just won't stick.
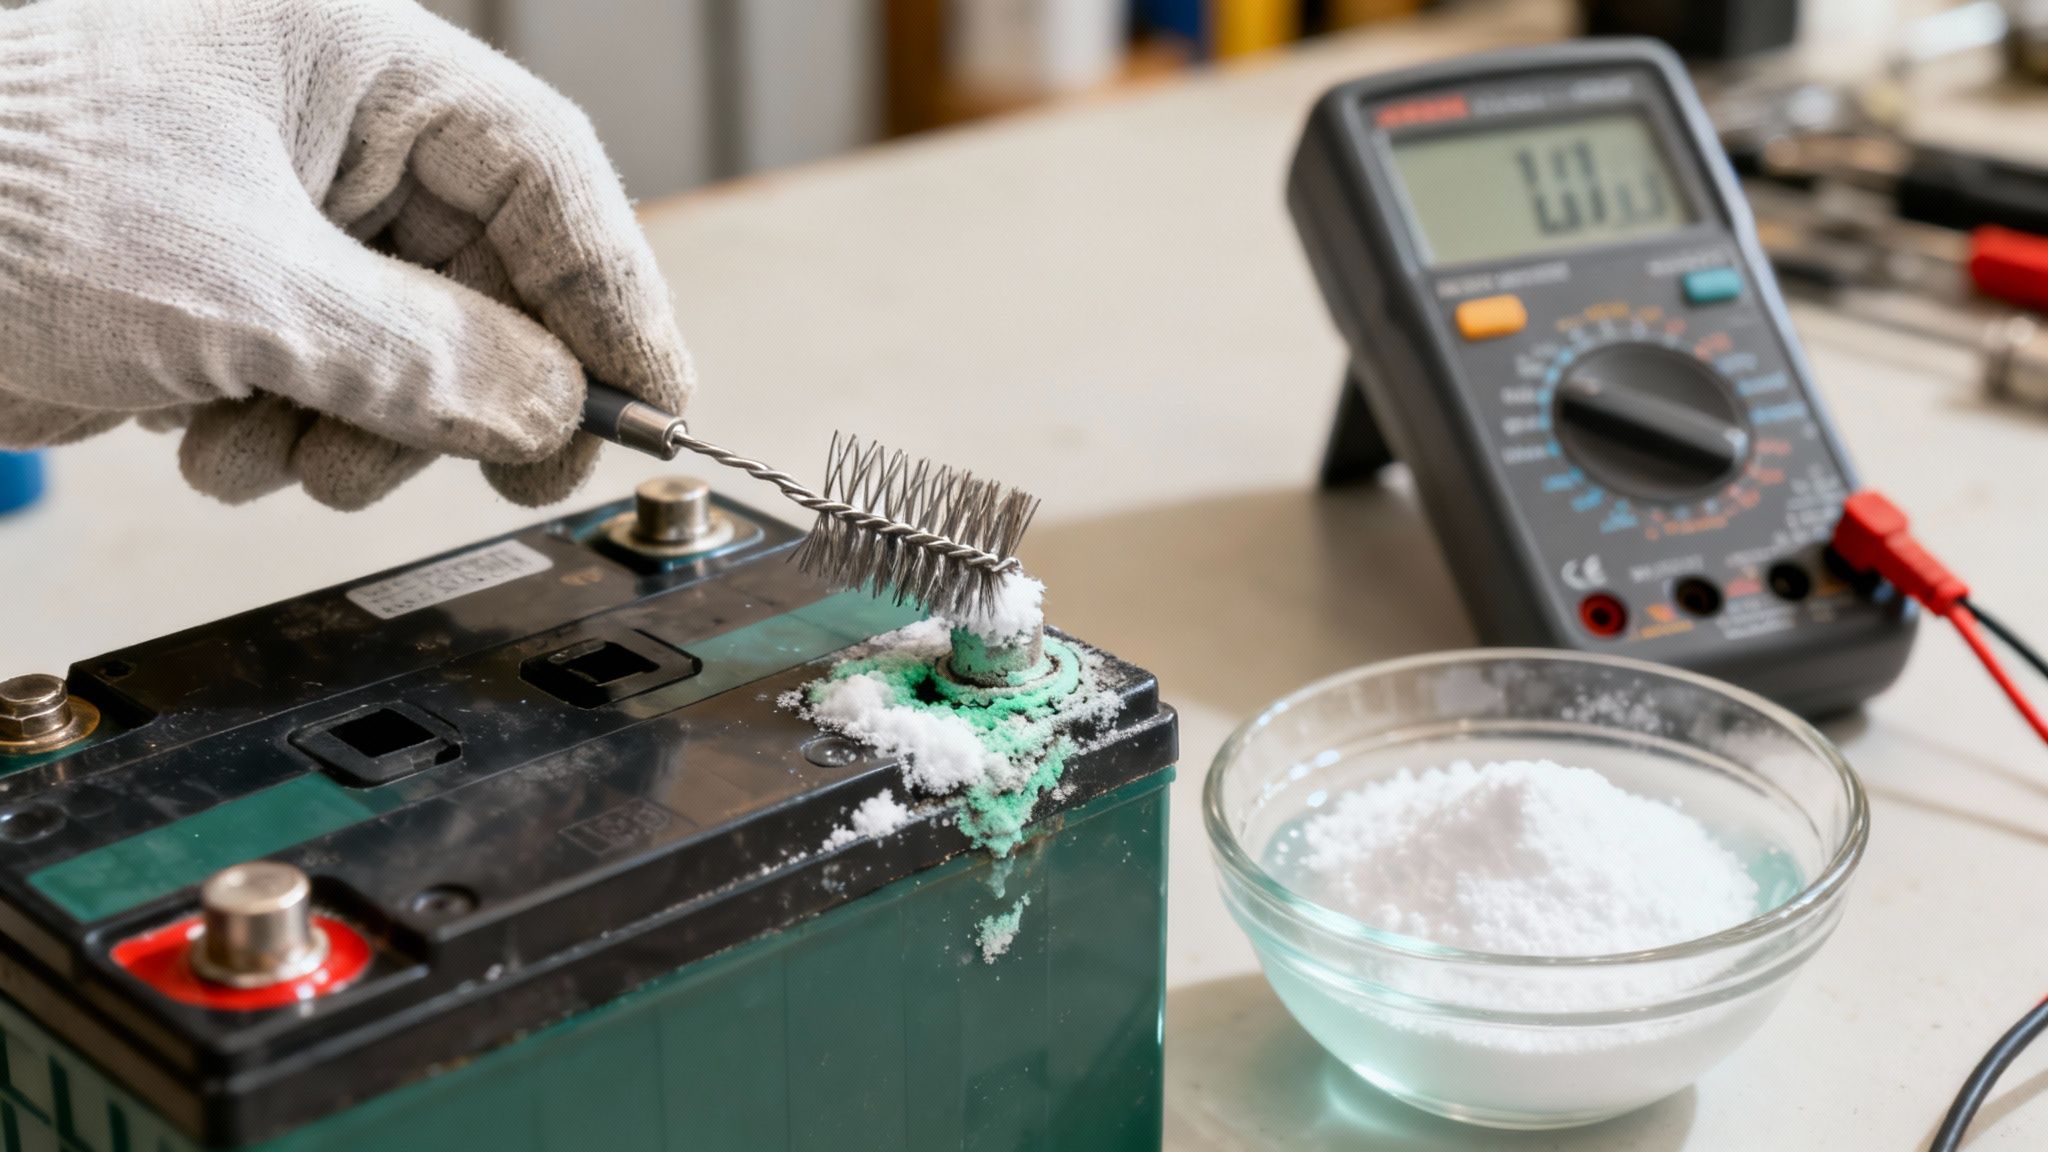
The Fuzzy Green Monster on Your Terminals
First up, pop the bonnet and get a good look at the battery terminals. If they're coated in a crusty, greenish-white fuzz—like a science experiment gone wrong—you’ve likely found your culprit. That gunk is corrosion, and it's a brilliant insulator, which is the last thing you want.
You can have the best charger in the world connected, but if the current can't push past that furry barrier, you’re just wasting electricity. Cleaning them is a simple but absolutely crucial job.
- Disconnect the battery: Safety first. Always take the negative (-) lead off first, then the positive (+) .
- Mix your potion: A simple paste of baking soda and a bit of water does the trick beautifully.
- Get scrubbing: Slap the paste on and use an old toothbrush or a proper terminal wire brush. Scrub the terminals and the inside of the clamp connectors until you see shiny metal.
- Rinse and dry: Wipe it all down with a damp cloth, then make sure it’s completely dry before reconnecting— positive first this time.
A poor connection is one of the most common reasons a battery refuses to charge or hold power. Before you write off the battery as a lost cause, make sure the electricity has a clean, solid path to follow. It’s a five-minute job that could easily save you a hundred quid.
The Lazy Alternator Isn’t Pulling Its Weight
Think of the alternator as your car's own personal power station. When the engine is running, its job is to recharge the battery and power all the electronics. If your alternator is getting a bit lazy or has decided to pack it in altogether, your battery will slowly die, no matter how many times you juice it up at home.
Spotting a dodgy alternator isn't always straightforward, but there are tell-tale signs. Have your headlights been flickering or dimming at idle? Does the little battery warning light pop up on the dash for a visit? These are classic symptoms of an alternator on its last legs. A failing one just can't supply the steady 13.8 to 14.4 volts needed to properly charge the battery while you drive.
The Silent Vampire Draining Your Power
Finally, we arrive at the most sinister culprit: the parasitic drain. This is when something in your car doesn’t switch off properly and just sits there, silently sucking the life out of your battery overnight. It could be anything—a faulty boot light that never goes out, a temperamental stereo, or a glitchy alarm system.
Hunting down a parasitic drain can be a real faff, usually involving a multimeter and the tedious process of pulling fuses one by one. A simple test is to see if your battery goes flat after being left for a day or two, even right after a full charge. If it does, you've probably got a power vampire hiding somewhere. For many, this is the point you throw in the towel and let a professional with the right diagnostic gear take over.
This kind of methodical troubleshooting separates a simple fix from a pricey garage bill—a skill that's just as relevant in the EV world. In 2025, even with the average UK EV hitting nearly 300 miles per charge, smart power management is still key. While around 65% of charging happens at home, public infrastructure is catching up fast, with 17,370 public chargers added in a single year. You can dive deeper into the stats on the UK's evolving charging landscape on rolandberger.com.
Answering Your Burning Car Battery Questions
Alright, you've got the basics down. Maybe you've even revived a dead battery and are feeling pretty pleased with yourself. But there are always those little questions that pop into your head later on. Let's tackle the common ones you might be pondering.
How Long Does It Really Take to Charge a Car Battery?
Look, this is the classic "how long is a piece of string?" scenario. The real answer depends on two key things: how dead your battery is and how much power your charger is pushing out.
If you’re using a gentle trickle charger on a battery that’s as flat as a week-old pint, you could be looking at 24 hours or more . A decent smart charger, on the other hand, might bring a partially drained battery back to life in a more manageable 4-8 hours . Your charger will have an indicator—usually a light that turns green or a digital display—to tell you when it’s finished.
The golden rule here is simple: don't rush it. A slow, steady charge is much better for the battery's lifespan than hammering it with high amps. Trying to do it too quickly is a false economy.
Can I Just Leave the Charger Connected Forever?
This one is critical, and the answer depends entirely on your kit. If you've got a modern 'smart' charger with a float or maintenance mode, then yes, you absolutely can. They're designed for this exact purpose. They'll charge the battery fully, then automatically switch to a monitoring mode, only topping it up when the voltage drops. It's ideal for keeping a classic car or a weekend toy ready to go over winter.
But if you’re using that hefty, old-school charger your grandad passed down? That's a hard no . Those 'dumb' chargers just keep pumping power in. Leave one on too long and you'll overcharge the battery, boil off the electrolyte, and basically cook it to death. For any kind of long-term hook-up, a smart charger is non-negotiable.
Do I Have to Disconnect the Battery from the Car First?
For most modern smart chargers, you don't need to disconnect a thing. They’re built with sophisticated circuitry to protect your car’s delicate electronics.
The standard, safe procedure is to connect the positive (red) clamp to the positive battery terminal, then connect the negative (black) clamp to a solid, unpainted metal point on the car's chassis or engine block—your earth point. This is the way it's done 99% of the time. Still, it never hurts to have a quick scan of both your car's manual and the charger's instructions, just in case you're dealing with a particularly fussy vehicle.
Why Has My Stop-Start System Given Up?
Ah, the classic sign of a struggling battery. Stop-start systems are greedy for power, and your car's brain is programmed to be selfish to protect the most important job: starting the engine.
The vehicle's computer constantly keeps an eye on the battery's state of charge and overall health. If the voltage drops below a preset level, the car will start shutting down non-essential systems to conserve power. The very first thing on the chopping block is almost always the stop-start function.
If your car has stopped doing its stop-start thing, the first and best diagnostic step is to give the battery a full 24-hour conditioning charge with a smart charger. If it comes back to life, great. If the problem returns quickly, it's a massive clue that your battery is on its last legs and needs replacing. This principle of prioritising battery health is even more crucial in the world of electric cars, as you can see in our deep-dive where we explain how EV batteries are the lifeblood of electric vehicles .
At VoltsMonster , we cut through the noise to give you the real story on everything electric and automotive. For more honest reviews, guides, and a bit of a laugh, head over to https://www.voltsmonster.com.
VoltsMonster Electric Vehicle Blog