How to Charge a Car Battery at Home: A Guide to Not Being Stranded
Charging a car battery at home is, mercifully, pretty straightforward. You just need the right charger, a bit of common sense, and a well-ventilated spot where you won’t accidentally set fire to your prize-winning petunias. It's a simple case of connecting the positive (red) clamp to the positive terminal and the negative (black) clamp to a suitable bit of metal, plugging it in, and choosing the right setting. Depending on how utterly dead your battery is and the grunt of your charger, it could take anywhere from 4 to 24 hours to get a full charge.
Your Car Is Dead: A Very British Dilemma
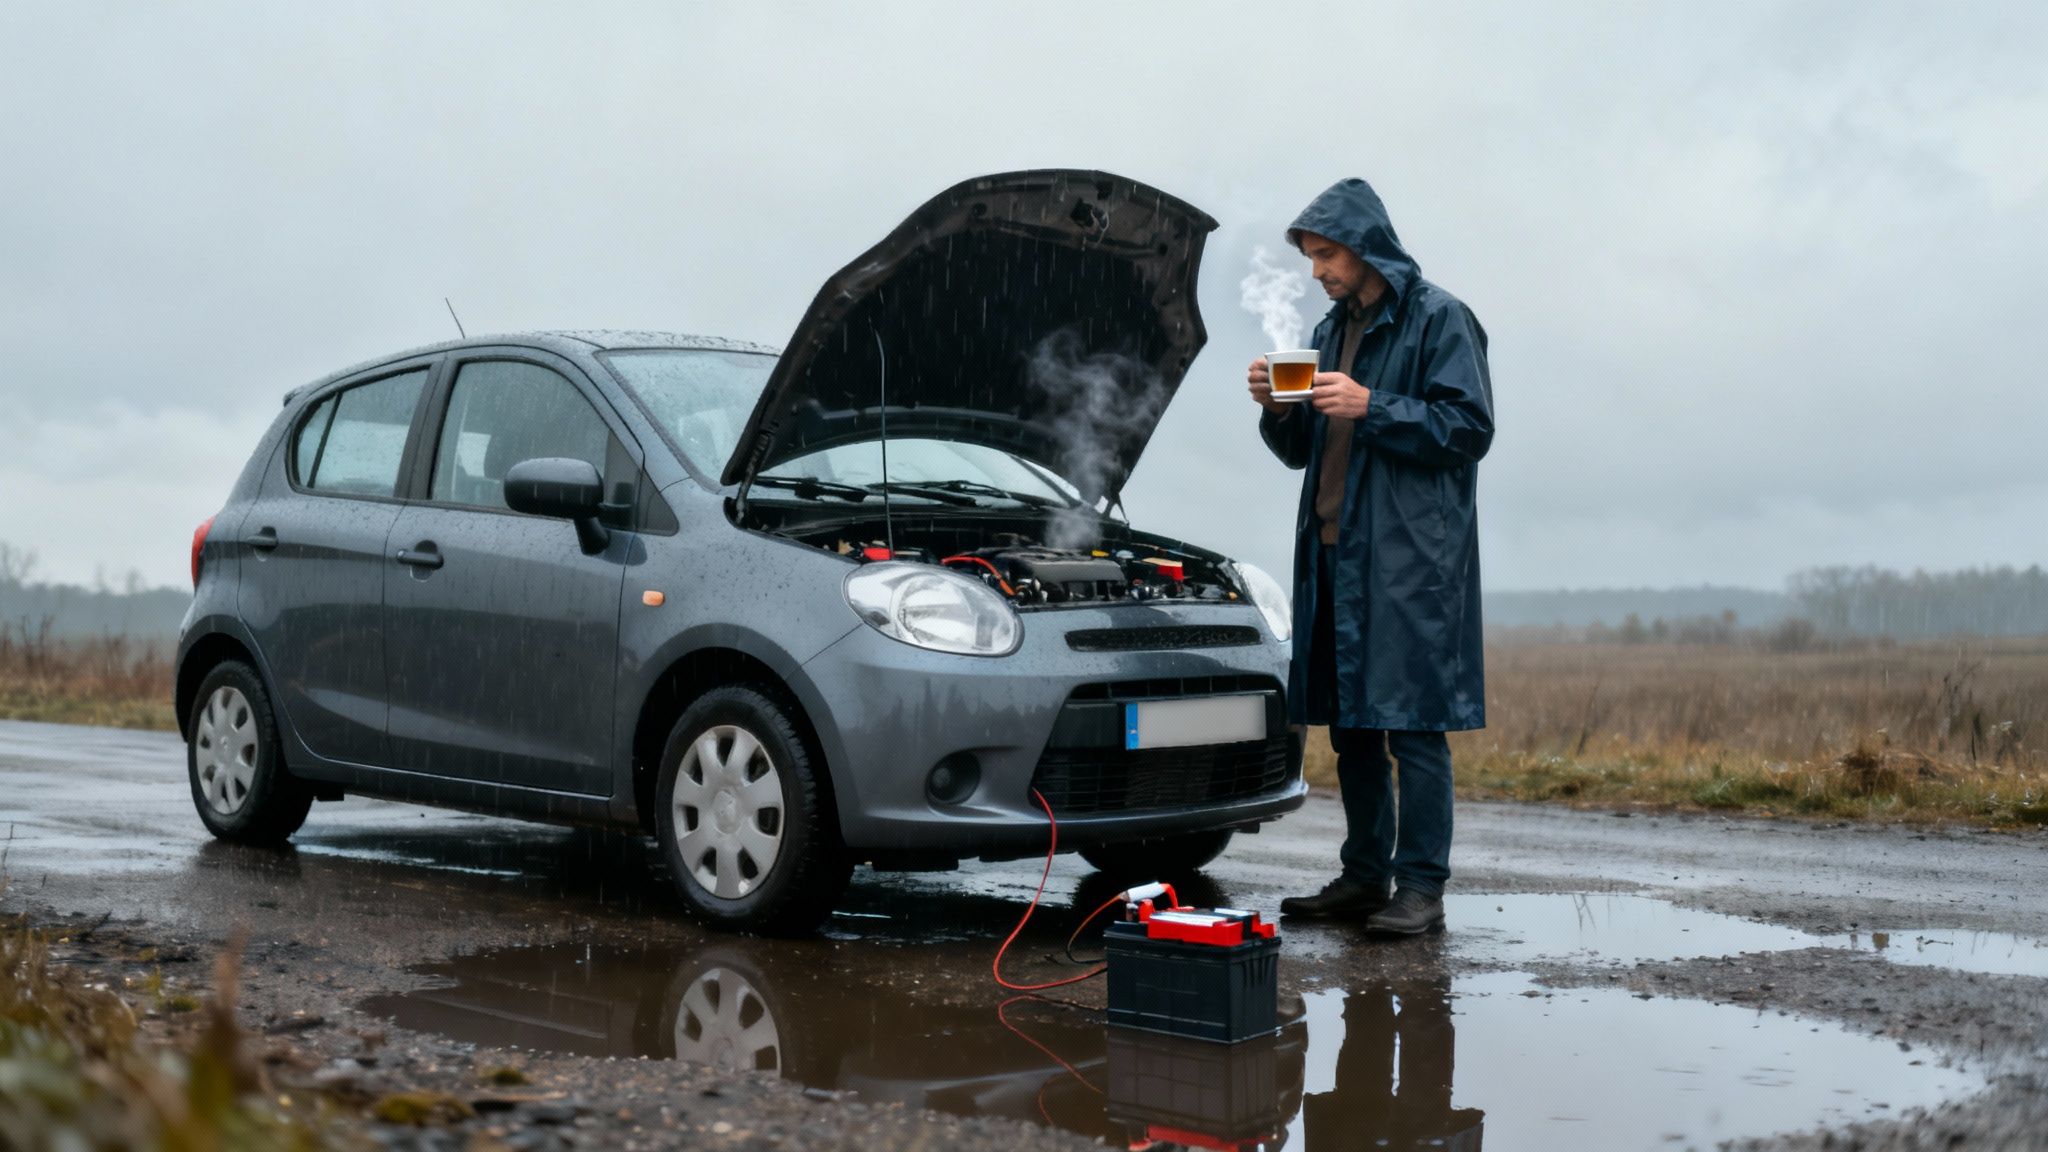
It’s a classic, isn't it? That awful, hollow silence when you turn the key, expecting the familiar rumble of the engine but getting sod all. A flat battery is about as welcome as a sudden downpour during a Bank Holiday barbeque—and it’s just as good at ruining your plans.
The sheer inconvenience is a uniquely British sort of agony. It’s that quiet rage simmering behind a stiff upper lip as you realise you’re not going anywhere fast.
But don't panic. This guide is here to get you back on the road without having a complete meltdown. We'll skip the jargon you'd find in a dusty old manual and get straight to the point, explaining everything like a chat down the pub.
What Causes a Flat Battery, Anyway?
Before we get our hands dirty, it helps to understand what caused this monumental pain in the first place. Knowing the 'why' can often stop it from happening again. Here are the usual suspects:
- Leaving the Lights On: We've all done it. The most common and soul-crushing culprit—a simple mistake that drains your battery while you sleep. The walk of shame back to the car is a universal experience.
- A Dodgy Alternator: Think of the alternator as a little dynamo that recharges your battery while you're driving. If it's on its last legs, the battery won't get the juice it needs, and you're fighting a losing battle.
- Short, Infrequent Journeys: Just popping to the shops and back often isn't enough to replenish the power used to start the car. Do this too often, and you're slowly bleeding the battery dry.
- Extreme Weather: Both blistering heat and freezing cold can wreak havoc on a battery's health and its ability to hold a proper charge. British weather, in other words.
The Modern Toolkit for a Modern Problem
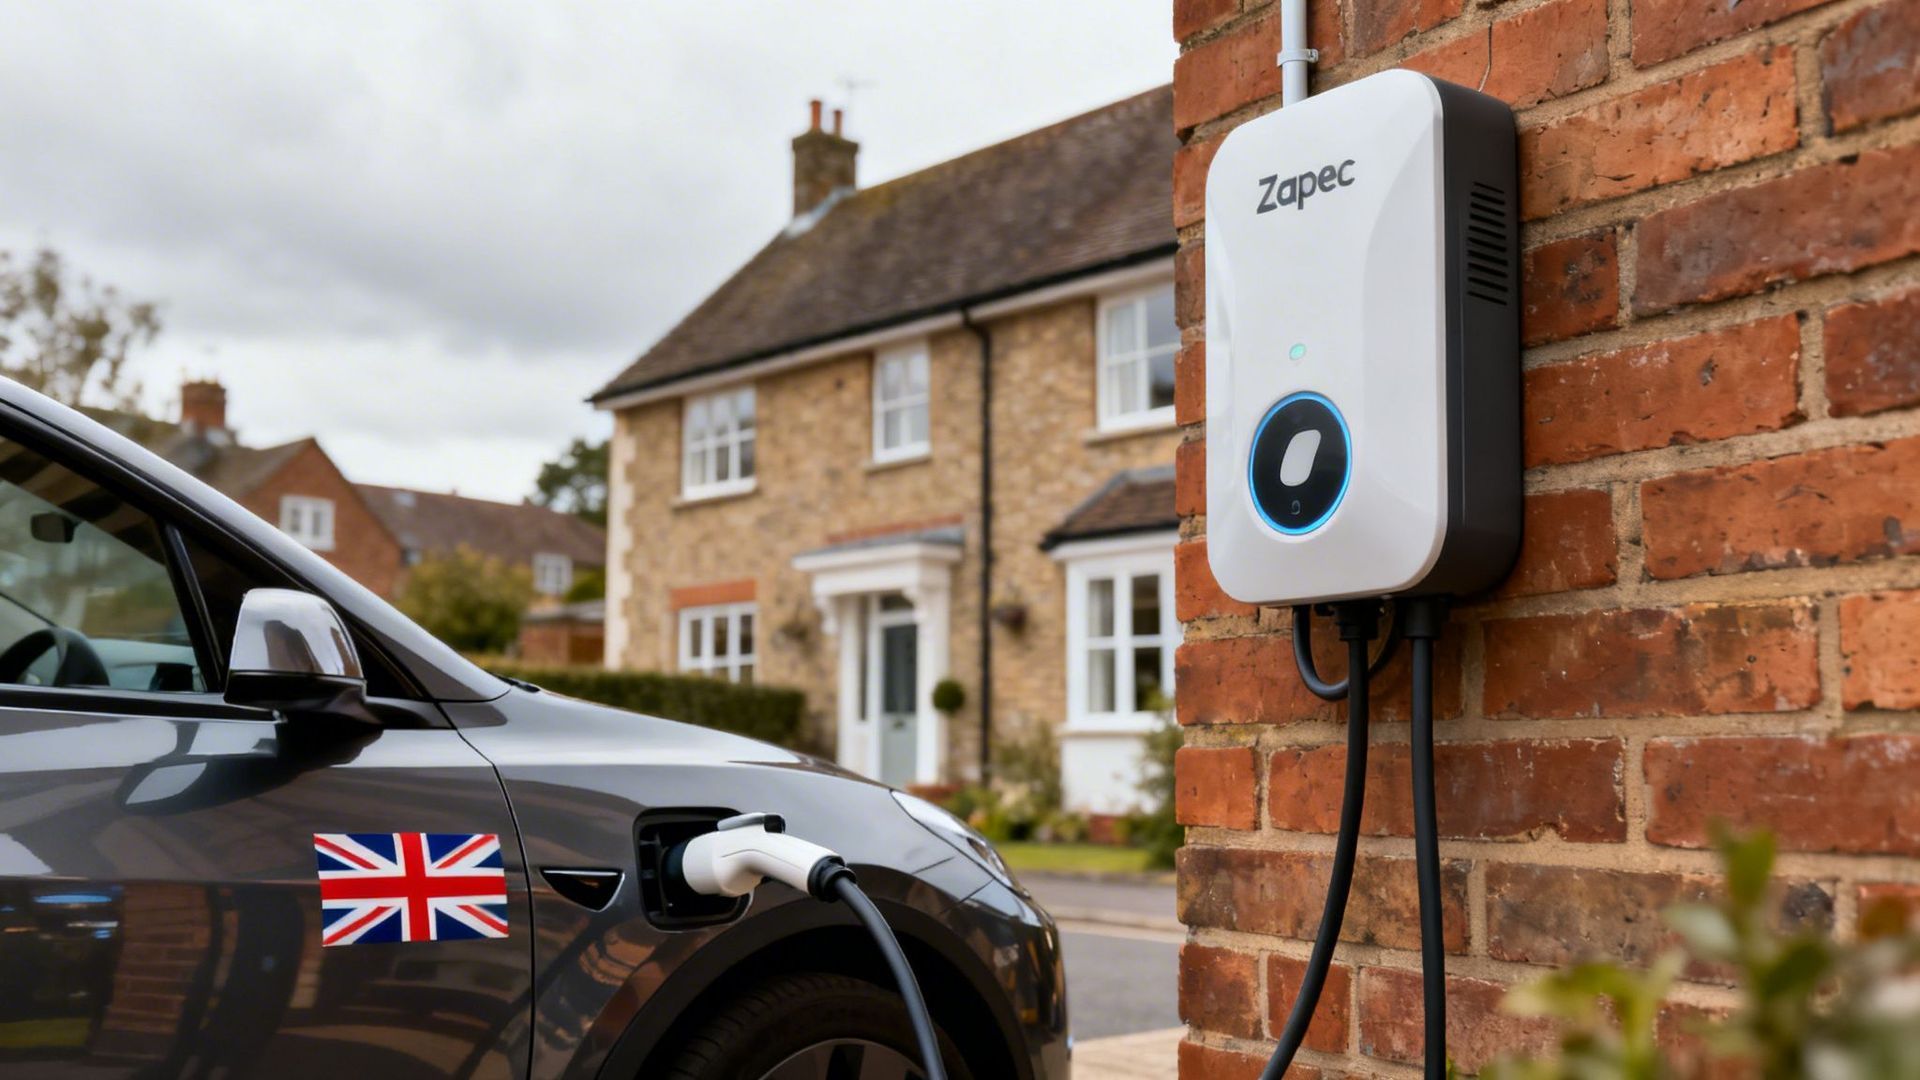
Thankfully, the days of monstrous, unwieldy chargers are largely behind us. Today's tools make the job much safer and more straightforward. In the UK, charging a car battery at home typically just means using a standard 230V household socket.
It’s a trend we’re also seeing in the electric vehicle world, where nearly 90% of UK EV owners do most of their charging at home. You can find more insights into UK home charging trends at EVision EVs.
The goal isn’t just to get the car started this one time. It’s to restore the battery to full health safely, so you don’t find yourself in the same predicament next Tuesday morning.
This guide will walk you through the essential kit, focusing on modern smart chargers that do most of the thinking for you. We’ll arm you with practical knowledge and a can-do attitude, ensuring you can tackle this problem without spilling your tea.
Choosing the Right Battery Charger
Wading into the world of car battery chargers can feel like trying to choose a decent bottle of wine at the supermarket – endless options, baffling labels, and the lingering fear you’ll pick something that ruins everything. It’s a bit of a minefield, but not all chargers are created equal.
Some are clever little boxes that do all the thinking for you, while others are brutish relics from a bygone era that might do more harm than good if you're not careful. Picking the right one really matters. A good charger is an investment in your car's long-term health; a bad one is a shortcut to buying a new battery.
So, let's cut through the jargon. This is your no-nonsense guide to picking the right kit for the job so you can choose a charger that suits your car, your budget, and your level of patience.
Understanding the Main Types of Charger
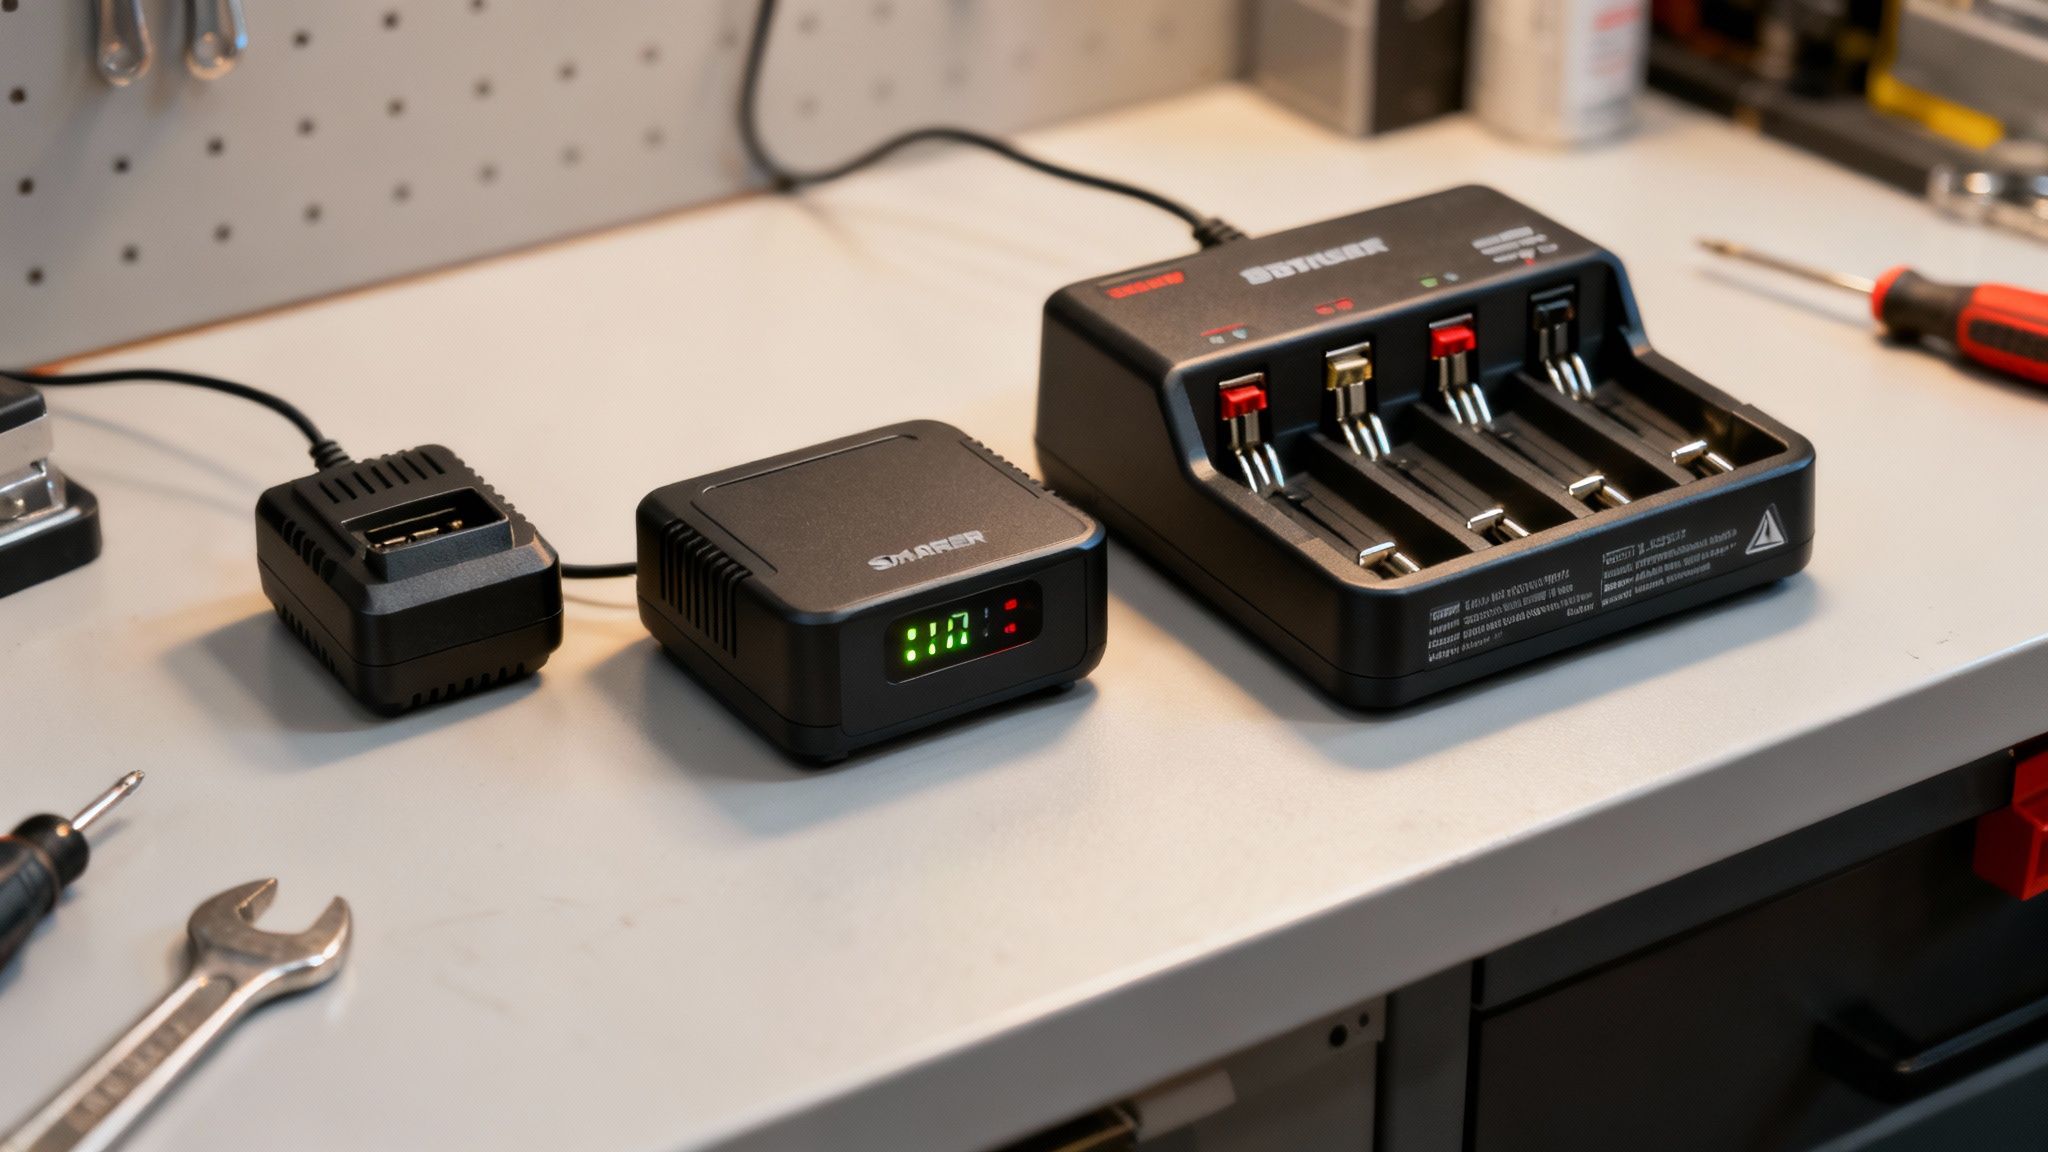
Your choice essentially boils down to how much you want the charger to think for itself. To help you decide, here’s a quick rundown of the most common types you’ll come across.
A Quick Guide to Battery Charger Types
| Charger Type | Best For | Pros | Cons |
|---|---|---|---|
| Trickle Charger | Long-term battery maintenance (e.g., classic cars in winter storage). | Simple, cheap, prevents self-discharge over time. | Agonisingly slow, not designed to recharge a dead battery, can overcharge if left unchecked. |
| Multi-Stage/Smart Charger | All-around home use for charging and maintaining modern car batteries. | Safe (prevents overcharging), analyses battery health, efficient charging cycles. The clever choice. | More expensive than basic trickle chargers. |
| Portable Power Pack / Jump Starter | Emergency jump-starts when you’re away from a power source. | Highly portable, great for emergencies, often has other features (USB ports, torch). | Not a true charger; it's a "get you started" tool, not a maintenance one. |
As you can see, a smart charger is the gold standard for most car owners. These multi-stage chargers are brilliant – they analyse the battery's condition and deliver a perfectly tailored charge. They even automatically switch to a maintenance 'float' mode once the battery is full, so you can't accidentally overcharge it. They are the sensible, safe, and most effective choice.
You might also see portable power packs being used. Honestly, they’re more for emergency jump-starts than proper, restorative charging. If you're curious about those, you can check out the ultimate UK guide to lugging around a power brick to see if one fits your needs. But for proper at-home care, a dedicated smart charger is the way to go.
What Do Amps and Volts Mean?
Let’s quickly translate the technical gibberish on the box into plain English. You don't need a degree in electrical engineering, just a basic grasp of two key terms to make a smart purchase.
-
Volts (V): Your car almost certainly has a 12V battery. This is non-negotiable. Ensure any charger you buy is compatible with a 12V system. Most are, but it's one of those simple checks that can save you a world of pain.
-
Amps (A): This number tells you the speed of the charge. Think of it as how fast the electricity flows into your battery. A higher amp rating means a faster charge, but faster isn't always better. For most home garages, a 4–8 amp charger is the perfect sweet spot. It’s quick enough to revive a flat battery in a reasonable time but gentle enough not to cause damage.
Think of it like this: voltage is the pressure of the water in a hose, and amperage is how wide the hose is. You need the right pressure ( 12V ) and a decent flow ( 4-8A ) to fill the bucket (your battery) efficiently and safely.
Choosing a charger isn't just about buying a box with wires. It’s about selecting the right tool to keep your car’s electrical heart in good nick. A modern smart charger is a sound investment that pays for itself in reliability and peace of mind.
Pre-Charge Safety Checks and Preparation
Right, before you even think about connecting that charger, we need to have a little chat. This isn't the time to be a hero. Car batteries aren't just inert lumps of plastic; they're boxes of acid that can kick out flammable hydrogen gas, especially when charging. Getting this bit wrong can turn a simple job into a trip to A&E or a chat with the fire brigade.
Think of this as your essential pre-flight checklist. Taking a few minutes to get properly set up is what separates a successful charge from a starring role in a YouTube fail compilation. Let's make sure you get it right.
Gearing Up and Clearing the Decks
First things first: what you're wearing. Your favourite football shirt and a pair of old trainers won't cut it. You're about to work with corrosive acid and electricity, so a bit of personal protection is essential.
- Eye Protection: Safety goggles are an absolute must. You don't want to find out what a splash of battery acid feels like in your eye.
- Gloves: A good pair of insulated or nitrile gloves will keep your hands clean and safe from acid.
- Ventilation: This one is critical. Always charge your battery in a well-ventilated space, like an open garage or a sheltered area outside. That hydrogen gas I mentioned is highly explosive, and you absolutely don’t want it hanging around.
Think of it this way: the goal is to charge your car, not to accidentally re-enact Guy Fawkes night in your driveway. Good ventilation is your best friend here.
Finding and Prepping the Battery
Now, let's get the battery itself ready for its little spa day. Pop the bonnet and find it – it’s usually a big black box with two chunky metal posts on top, known as the terminals.
Make sure the engine is off and the keys are well away from the ignition. Then, you'll need to disconnect the battery. Always, and I mean always , remove the negative (-) terminal first , then the positive (+). This simple rule prevents you from creating a short-circuit if your spanner accidentally touches any metal part of the car. A standard 10mm spanner is usually all you need.
With the leads off, take a look at the terminals. See any white, blue, or greenish crusty stuff? That's corrosion, and it's a massive barrier to a good connection. Grab a wire brush and give both the terminals and the cable clamps a proper scrub until they're shiny. This little bit of prep is fundamental to learning how to charge a car battery at home safely and effectively.
Now, all this might seem a bit basic, but getting these fundamentals right is the bedrock of a safe charging process. Speaking of safety, it’s worth noting that while we’re talking about standard 12V batteries, the rules are different for electric vehicles. Official UK guidelines strongly recommend using dedicated Electric Vehicle Supply Equipment (EVSE) that meets BS 7671 standards. Charging an EV from a standard socket can risk overheating, which is a powerful reminder that using the right kit for the job is always paramount. You can dive deeper into the specifics of EV charging statistics on meteorelectrical.com.
If that's sparked your interest in EV charging, you might want to read our guide to home EV charger installation so you don't be a muppet. For now, though, with your standard battery prepped and ready, it's time for the main event.
Connecting and Charging Your Battery
Right then, this is the main event. You’ve done the prep work, you’ve put on some old clothes, and you're ready to get your car's electrical system back in order. This is the moment you bring that lump of lead and acid back from the dead. Don’t worry; it's far simpler than it sounds, and you don’t need an engineering degree to get it right.
The whole process boils down to a simple mantra: red to positive, black to ground . It's a sequence as timeless as making a proper cup of tea, but getting it wrong can be significantly more explosive.
The Connection Sequence: Getting it Right
Let’s be absolutely clear on the order of operations. You connect the positive (red) clamp from your charger to the positive (+) terminal on your battery first.
Next, take the negative (black) clamp and connect it to a solid, unpainted metal part of the car's chassis or engine block. A chunky bolt on the engine is usually a perfect candidate for this grounding point.
Why the extra step? Why not just connect black to the negative terminal? It’s all about preventing sparks. A charging battery can release flammable hydrogen gas. Connecting that final clamp away from the battery itself ensures any small spark happens well away from those fumes. It's a simple safety measure that costs you nothing and could save you from a very bad day.
This simplified process flow visualises the essential prep work before you even touch the charger, ensuring you're set up for success from the start.

The key takeaway here is that proper preparation—ventilation, disconnection, and cleaning—is just as crucial as the charging process itself for a safe and effective outcome.
Setting Up and Firing Up the Charger
With your clamps securely in place, it’s time to plug in the charger and tell it what to do. If you’ve invested in a modern smart charger, this part is incredibly straightforward. It will likely have a mode button to cycle through different battery types.
- Standard Lead-Acid: This is your bog-standard, everyday car battery.
- AGM/EFB: These are common in cars with stop-start technology. Double-check your battery's label to be sure.
- Lithium: Usually found in high-performance or newer vehicles.
- Repair/Recondition Mode: A special, more intensive cycle for trying to revive a deeply discharged battery.
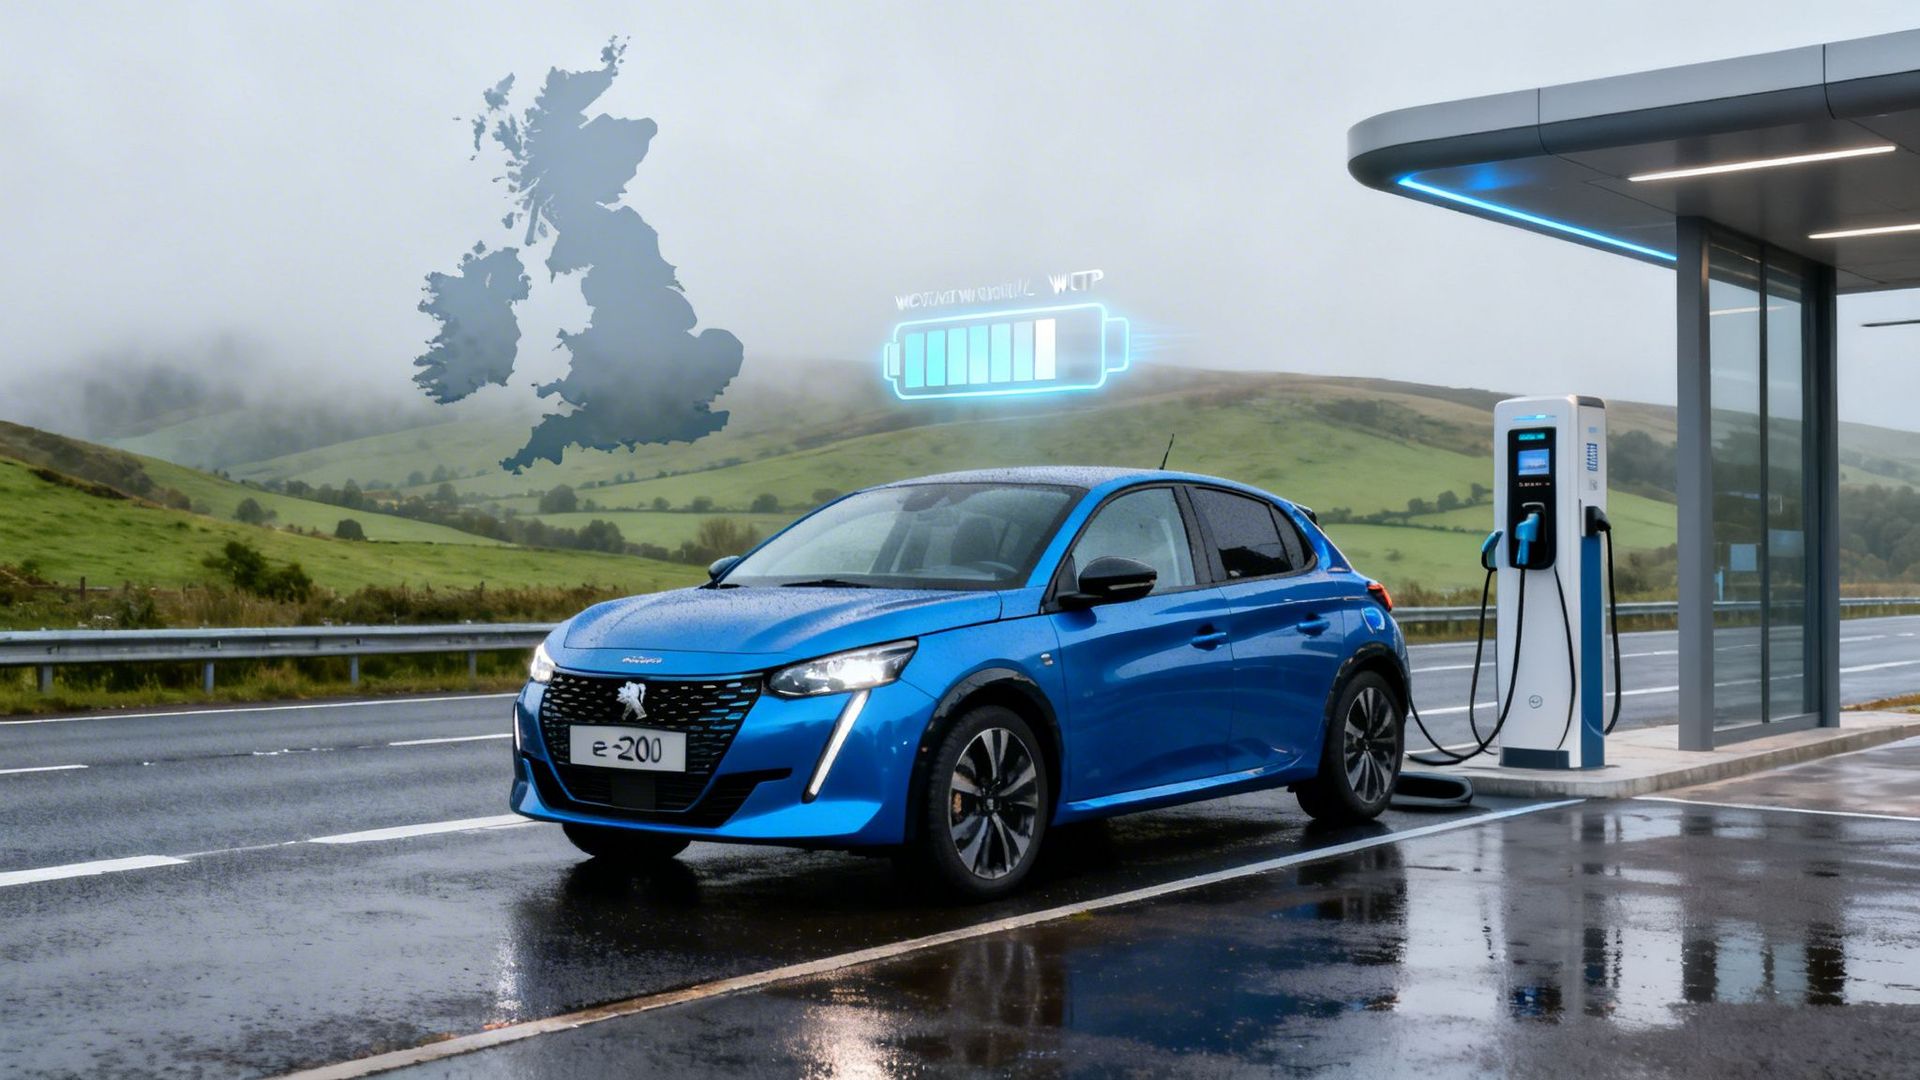
Select the correct mode for your battery, and that’s pretty much it. The charger will analyse the battery’s state and begin its multi-stage charging process. While home charging for traditional cars is a well-trodden path, it’s a concept that’s becoming even more central with electric vehicles. Between July 2024 and July 2025, the number of public charge points in the UK surged by about 27% , yet home charging remains the absolute cornerstone, supporting around 65% of all EV energy delivery. You can read more about the UK's impressive charge point growth on transportandenergy.com.
How Long Will This Take?
Now for the question everyone asks: how long until I can get back on the road? The honest answer is, "it depends." Patience is a virtue, especially when dealing with a flat battery.
A common mistake is unplugging the charger the second the car starts. A battery needs a full, restorative charge, not just enough of a jolt to turn the engine over. Rushing it is a false economy that’ll likely see you stranded again next week.
A completely flat battery being charged by a standard 4-amp smart charger could easily take 12-24 hours to reach full capacity. If it's just a bit low on juice, you might be looking at a more manageable 4-8 hours .
Your charger's display will tell you everything you need to know. It will show the charging progress and, once complete, will automatically switch to a 'float' or 'maintenance' mode. This keeps the battery topped up without any risk of overcharging.
Just let it do its thing. Go inside, have a biscuit, and let the technology handle the rest. Your car will thank you for it.
Troubleshooting Common Charging Problems
Right, so you’ve followed all the steps, had a brew, and come back to the car expecting a miracle, only to find it's still as dead as a dodo. It’s infuriating, but don't launch your spanner across the driveway just yet. Even when you know how to charge a car battery at home , things don't always go to plan.
This is your troubleshooting lifeline. Let’s calmly walk through the common hiccups that can turn a simple job into a head-scratching puzzle. More often than not, the fix is simpler than you think.
Deciphering Your Charger's Light Show
Modern smart chargers love to communicate with a series of blinking lights, which can feel like trying to interpret Morse code if you don't know what you're looking at. If your charger isn't showing a steady 'charging' light, something's amiss.
Here’s a quick guide to what those frantic blinks usually mean:
- A rapid, continuous flash: This almost always signals a bad connection. Get back in there and double-check that your clamps are biting down firmly on clean, bare metal—both on the battery terminal and your chosen grounding point.
- An alternating or 'error' light: This is the charger's way of throwing its hands up and saying there’s a serious problem. It could be that the battery is completely knackered or, more likely, you've connected the clamps the wrong way round.
- No lights at all: We’ve all been there. Before you panic, check the most obvious thing: is the charger plugged in and switched on at the wall? You’d be surprised how often that’s the issue.
Most decent smart chargers come with built-in reverse polarity protection , which is a real lifesaver. If you've accidentally put the red clamp on the negative terminal and the black on the positive, the charger will simply refuse to start instead of causing any damage. Just disconnect everything and start again, paying closer attention this time.
When the Battery Refuses to Hold a Charge
This is probably the most frustrating outcome. The charger says the battery is full, but the car still won't start. Or maybe it fires up once, but it's flat again the next morning. This usually points to a deeper issue beyond just needing a top-up.
There are two likely suspects here. The first, and most common, is that the battery has simply reached the end of its life. A typical car battery lasts about 4-5 years , and after that, its ability to hold a proper charge drops off a cliff. If a full charge only gives you enough grunt for one start, it’s almost certainly time for a replacement.
The second culprit could be a faulty alternator . The alternator's job is to recharge your battery while the engine is running. If it’s failing, the battery will drain as you drive, and no amount of home charging will ever be a long-term fix. A mechanic can test your alternator in minutes. If you’ve noticed a whining noise from the engine bay or your headlights seem dim while driving, the alternator is a prime suspect.
At the end of the day, if you’ve charged the battery correctly and it still lets you down, it's time to stop fighting a losing battle. Sometimes you just have to accept that components wear out. Your next step is either investing in a new battery or getting a professional to diagnose the underlying electrical gremlin.
Frequently Asked Questions
You’ve done the hard graft, but a few nagging questions are probably still bouncing around your head. Don’t worry, that’s perfectly normal. Let's tackle some of the most common queries we hear.
Can I Charge My Car Battery While It's Still Connected?
With most modern smart chargers, yes, you absolutely can. They're specifically designed to be gentle on your car's sensitive electronics and won't cause any drama.
However, if you're working with an older vehicle or a very basic, non-intelligent charger, it’s always the safer bet to disconnect the negative terminal first. This completely removes the tiny but terrifying risk of frying your car's ECU. If you're in any doubt at all, just disconnect it—it takes less than a minute and buys you peace of mind.
How Long Does It Take to Charge a Flat Car Battery?
This is the big one, isn't it? The honest answer is: it really depends on how flat the battery is and the amperage of your charger. A simple top-up for a sluggish battery might only take 4-6 hours with a decent 4-amp charger.
A completely dead battery, on the other hand, could easily need 12-24 hours to get back to full strength. Don't believe anyone who tells you it's a lightning-fast job; patience is your friend here, ensuring you get a full, healthy charge that actually lasts.
Leaving a battery charger on overnight is perfectly safe, but only if it's a smart charger . These clever bits of kit monitor the battery and automatically switch to a maintenance or 'float' mode once it’s full. This prevents any damage from overcharging. Using an old, basic charger overnight is a recipe for disaster.
My Battery Is Charged But the Car Still Won't Start. Now What?
This is the ultimate moment of frustration, and we've all been there. If you're certain the battery is fully charged, the problem lies elsewhere. The usual suspects in this situation are:
- A faulty starter motor that isn't engaging.
- A poor connection at the terminals (it's worth giving them another good clean).
- An issue with the alternator, which would mean the battery wasn't the original problem.
At this point, it’s probably time to put the tools down and call a professional before you start dismantling the engine. Knowing how to charge a car battery at home is a brilliant skill, but it's just as important to recognise when the issue has moved beyond the battery itself. Making the right call between home charging and professional help is a common dilemma, and you can learn more by exploring our thoughts on whether you should invest in a home charger or stick with public networks.
For more no-nonsense car advice, honest reviews, and the latest deals from across the UK, keep it locked on VoltsMonster . Check out our other guides and vlogs at https://www.voltsmonster.com.
VoltsMonster Electric Vehicle Blog